Welcome to Our New Website!!

Waterproof Sticker Manual
Please read carefully to ensure your sticker lasts as long as possible.

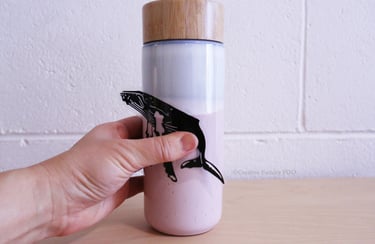
Step 1
Make sure your object (e.g., a drink bottle) is clean and free of oil, dust, or moisture. Then, choose the perfect spot to apply your sticker.
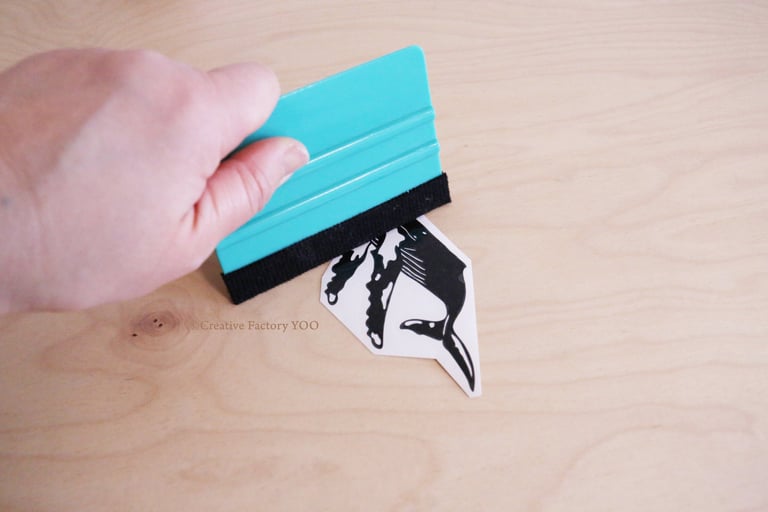
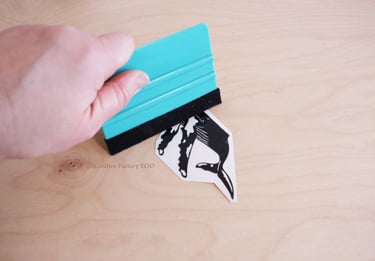
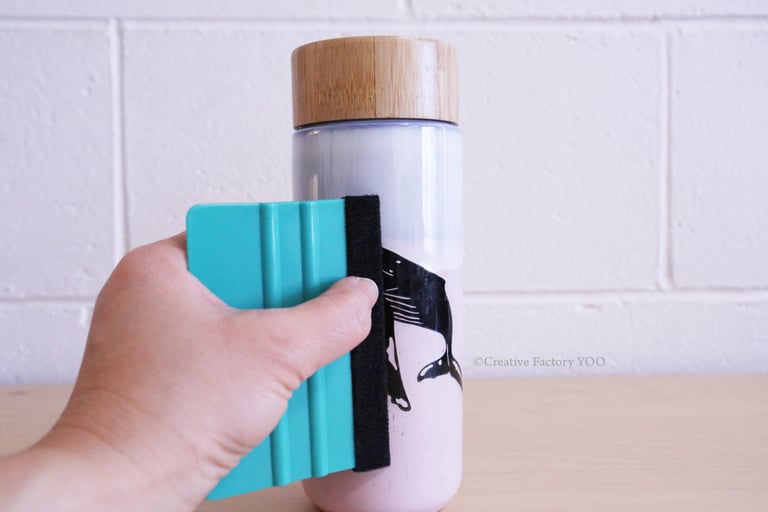
Step 2
This is a triple-layer sticker. Use a straight-edged tool (like a squeegee or credit card) to press the actual sticker firmly onto the top clear transfer layer.
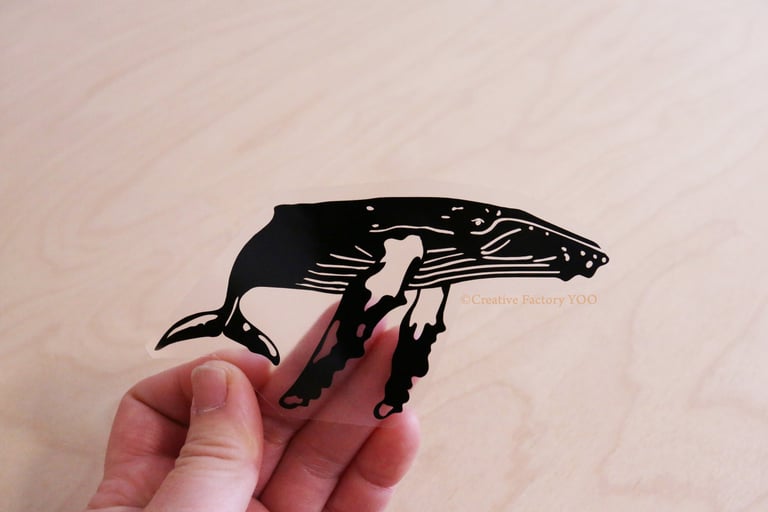
This sticker is made from Vinyl and comes with a triple layer for easy application.
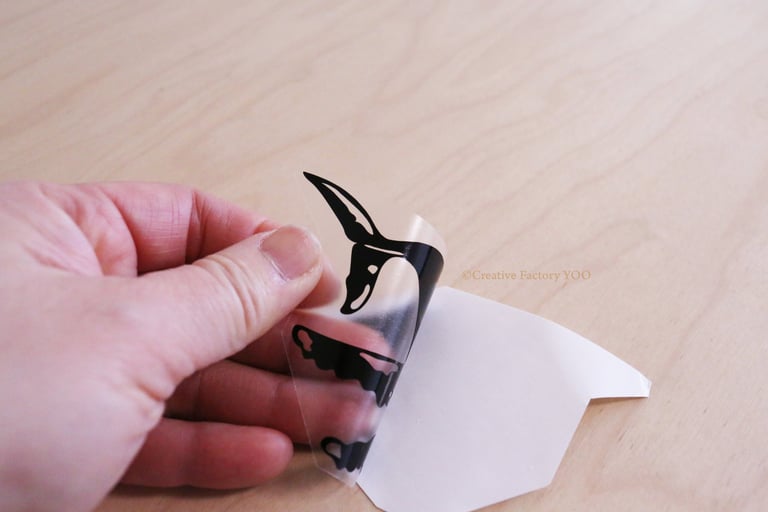
Step 3
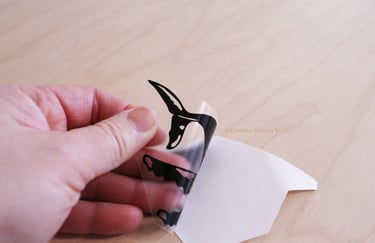
Carefully peel off the top clear layer with the sticker on it. For best results, start peeling from a pointy part of the design.

Step 4
Peel off both the top and middle layers completely.
Please avoid touching the adhesive side of the sticker, as it can reduce its stickiness.
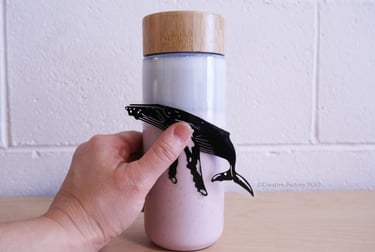
Step 5
For curved surfaces, apply the sticker starting from the middle to prevent bubbles. On flat surfaces, you can start from any corner.

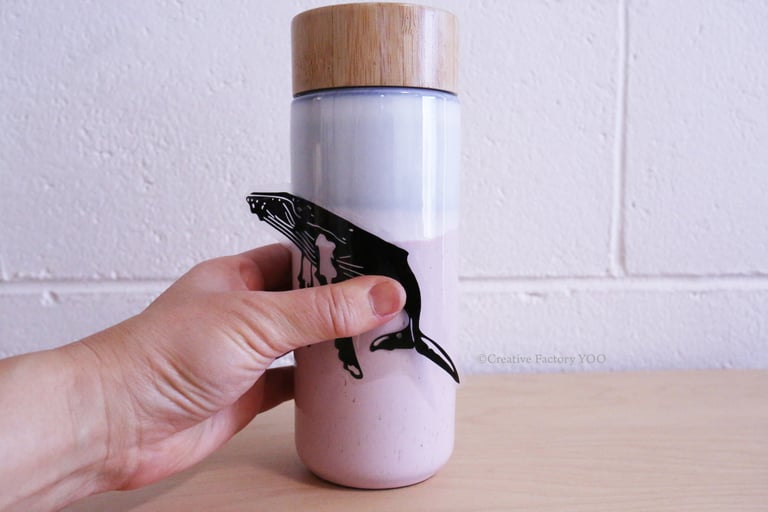
Step 6
Stick it down slowly and firmly from the middle to the edges, smoothing out any air bubbles as you go.
Yay! It's Done!
Feel free to hand wash in hot tap water, but try not to use the dishwasher. To keep your sticker looking great, wash gently and avoid scrubbing with rough sponges that might catch the edges and peel the sticker over time.
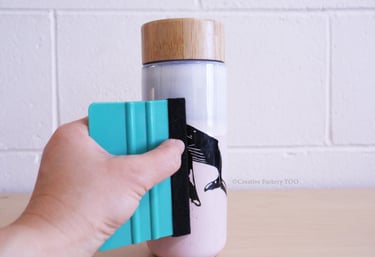

Step 7
Once the sticker is in place, use a flat, straight-edged card to press it down firmly and ensure proper adhesion.
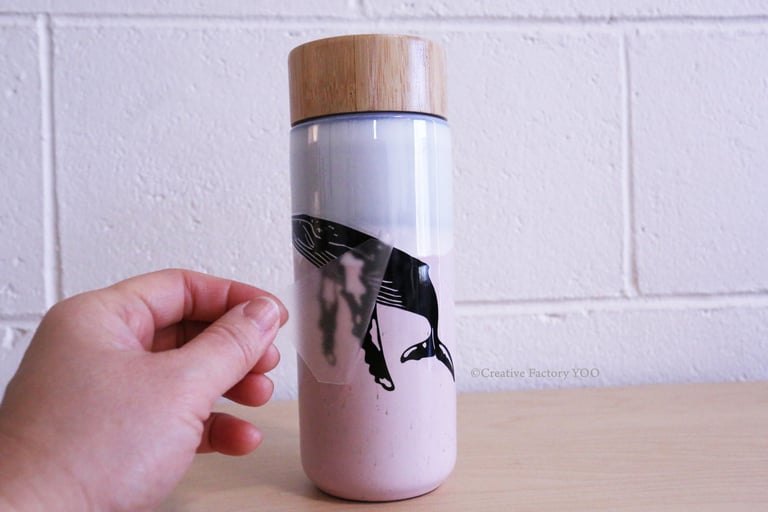
Step 8
Slowly and carefully peel off the top layer. If the sticker hasn’t fully adhered to your object, place the top layer back and repeat Step 7.
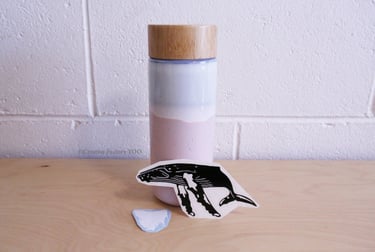
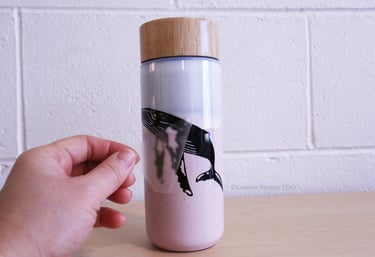
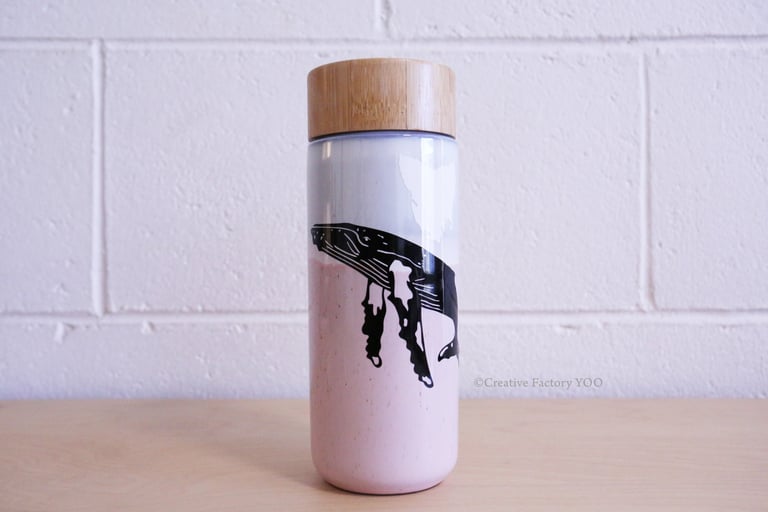
Examples of Sticker Use
Drink bottles (glass, ceramic, and plastic)
Car bumpers and windows
Laptops and smartphones
Doors, tables, and house windows
Diving fins (only on smooth surfaces; avoid bending areas)
Scuba cylinders
And more!
We recommend not using the detailed design stickers on heavily wet items such as water bottles, car bonnets, or diving fins. These stickers are slightly easier to peel off compared to the solid design versions. We appreciate your understanding of the nature of these stickers.
Take a look at our other unique products!
Creative Factory YOO
Handmade jewellery and stickers from beautiful island-Tasmania.
Contact
Would you like to get some updates?
hello@cfyoo.com
+61432021945
© 2025. All rights reserved.